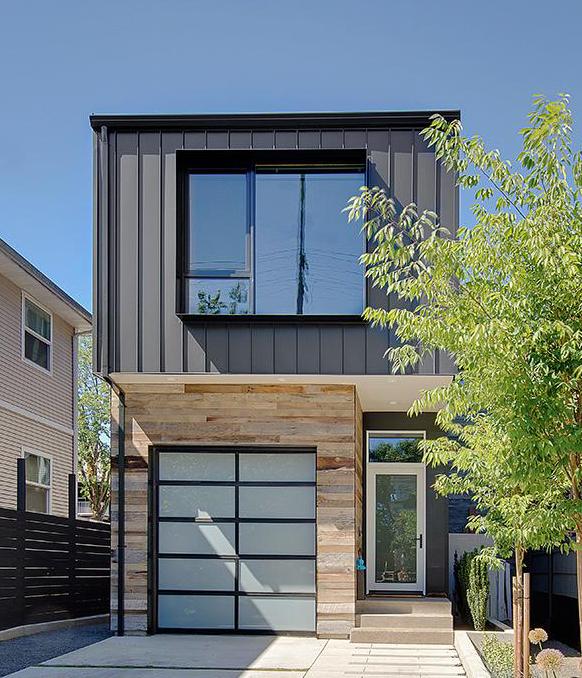
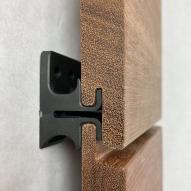
5 TIPS AND TRICKS FOR INSTALLING EXTERIOR SIDING
Installing wood siding offers quick reward, covering a large plane of a project with texture, color, and protection from the elements in a short amount of time. We’ve gathered 5 of our favorite tips and tricks from folks with experience to share with you:

1: The Rain Screen:
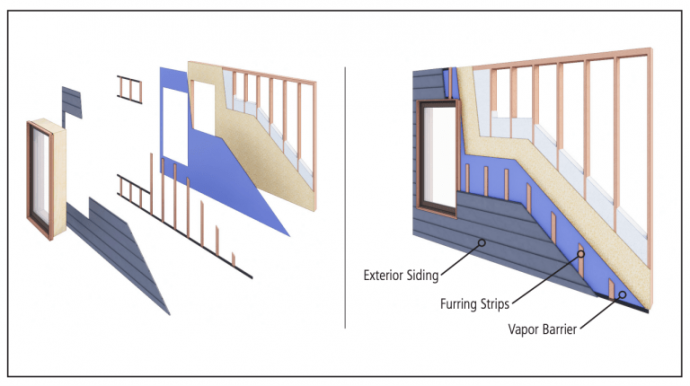
Great for vertical or horizontal siding applications. “A ventilated rain screen prevents direct contact of the wood siding with the weathertight vapor barrier (aka: house wrap). Direct contact between wood and this barrier inevitably leads to rot and product failure.” –New Energy Works design build company.
Best: furring strips, narrow lengths of wood set approximately 12” apart, secured (with screws) to the exterior’s underlying wood fiber ‘outsulation’, plywood or other substrate.
2: Ventilation and Nail Pattern:
Wood moves; it will get wet and it needs to dry. Leaving an expansion space around windows and doors is a good idea to allow movement, plus, the space can often be covered by trim pieces. A bit of breathing room at the end of the furring strips is another way to allow passive ventilation behind the siding from above and below.
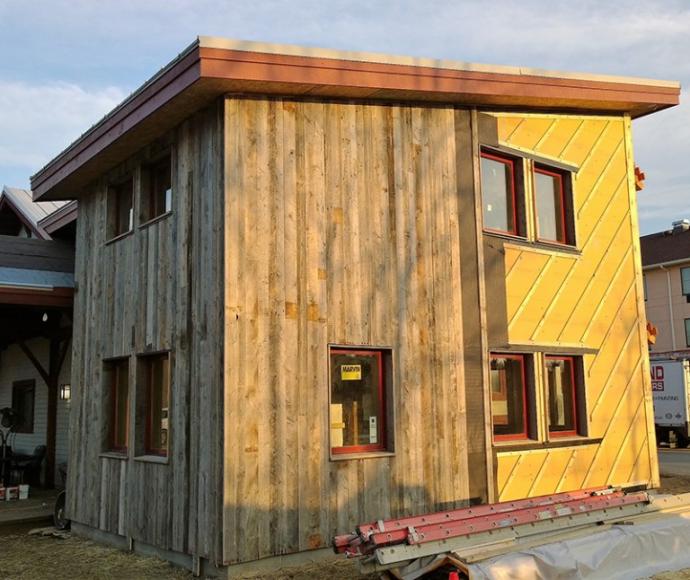
“Personally, I like the 45-degree angled furring strips. They ensure that any moisture will run down to the bottom and out. Bonus: they make the inevitable lines of nails less visible, since our eyes want to look with the direction of the planks, not at the angle the nails follow.” –Jered S, wood expert and DIY homeowner.
3: The right nails and nuances of wood
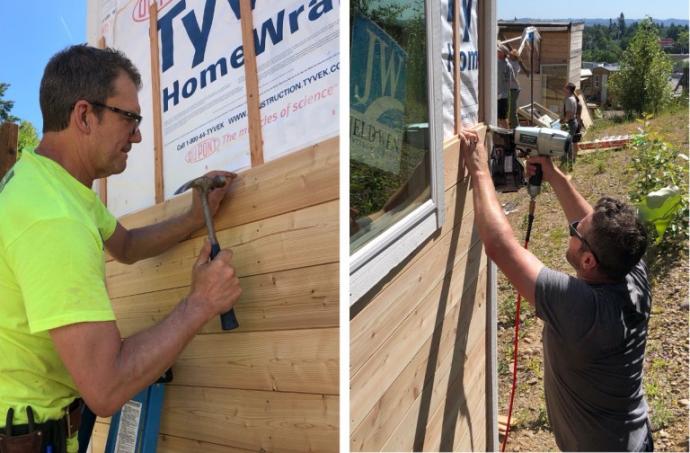
You’re going to be nailing through wood, maybe decades old reclaimed barn wood. Unintended damage can happen with too heavy of a hand or equipment. “We like hand nailing or using a nail gun with a pneumatic fastener that includes a tip that will minimize damage to the wood. Best nails: ring shank or spiral siding rated nails, stainless or galvanized to handle exposure to the elements.” –Mark M, professional carpenter and siding guru.
4: It’s a material world:
First: Be sure you have ordered enough material. Always double check your take off, your measurements, and what the manufacturer recommends having as overage (we advocate 15% for our reclaimed siding, 10% for sustainably fresh sawn; either may vary depending on the complexity of the install (amount of cutting that will be needed to accommodate for rooflines, windows, doors, etc)).
Second: Pre-finish! Order pre-finished or apply your finish prior to installing—and be sure to cover all 6 sides of each plank. On reclaimed siding, it may only be necessary to add finish to the resawn edges where the wood has been newly exposed. Those planks have a hard-earned patina, a protective oxidized layer, that’s already withstood years of weather.
Third: Organize! If you’re working with a variable width material, organize it by widths. Then be sure to install randomly—unless you’ve ordered quantities to fulfill a specific pattern.

5: Plumb Level:
Yep, you’ll become very familiar with reading your level. You’ll want to check this every 4 to 6 feet—both side-to-side (level) and up and down (plumb).

6: BONUS! Preparation:
Have all the tools–and people–at the ready.
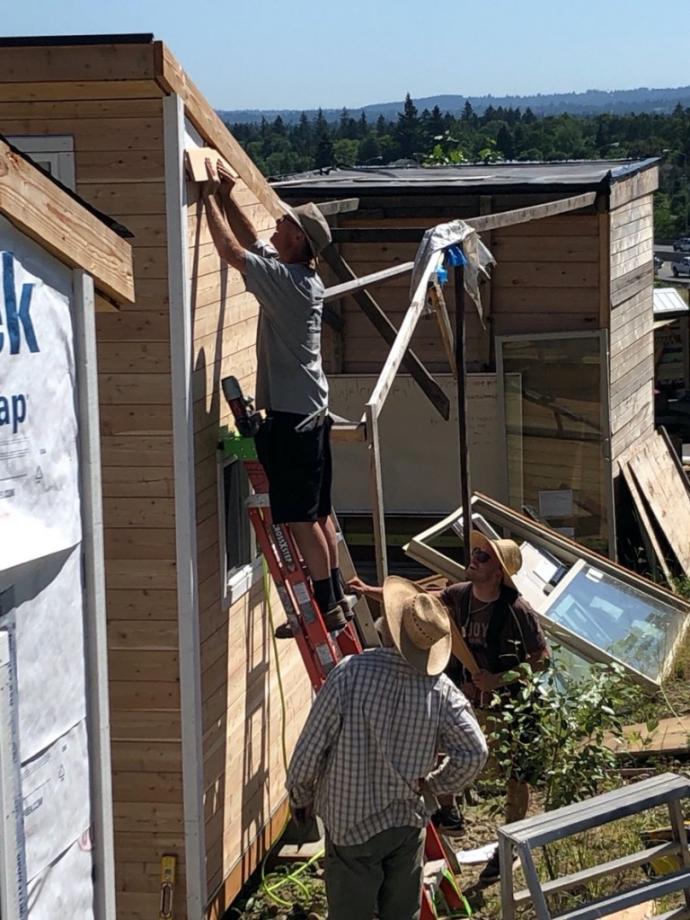
“It seems so simple, like mise en place when I’m cooking…but we were pretty caught up in the excitement of choosing and receiving our siding, so we were not quite as organized as we should have been. Having completed our install, the first thing I tell people now is be prepared. Good ladders (make sure they are tall enough). Good scaffolding can make life way easier. Good friends and family to help. And be sure to have–or ask those friends and family to bring–levels, hammers, tool belts, measuring tapes, saws. Of course, a plentiful spread of food and drink never hurts either.” – Homeowners and siding DIY’ers, Matt and Megan T

Always be inclusive: refer to a local contractor and/or code officer for expertise regarding specific regulations and requirements for your project.
Considering an upcoming installation? See our siding guide with additional links to helpful vids. Ask our sales team for recommendations and what’s available today.
