Shou Sugi Ban Siding Installation Tips & Tricks
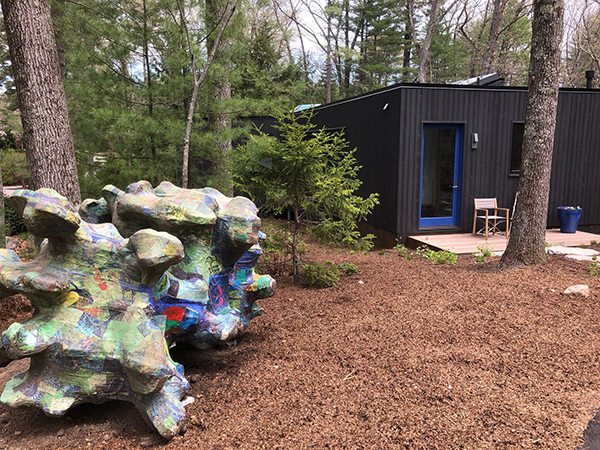
Pioneer Millworks’ Shou Sugi Ban wood cladding is USA-made and dovetails good looks with resistance to fire, fungi, pests, and decay. A key factor in the lifespan and aesthetics of any wood siding is installation. Below are some tips and what to expect when installing charred wood siding to get the best performance out of this specialty product.
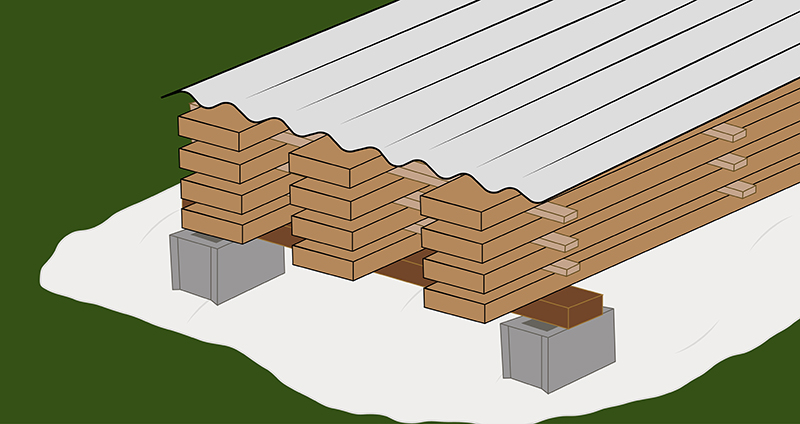
Acclimate: Acclimation is key to minimizing or preventing wood movement. Siding needs to be un-bundled and acclimated for 10-14 days, protected from moisture, and with good air circulation. A canopy, carport, or an open garage work great, or you can build a setup like the image above. It might seem like overkill but skipping this step or cutting the acclimation time short can cause gaps, cupping, warping, or buckling. This kind of movement on the wall will not only interrupt the consistency of the design, but can cause damage to the boards as they move against the fasteners - and some pieces might even need to be replaced.
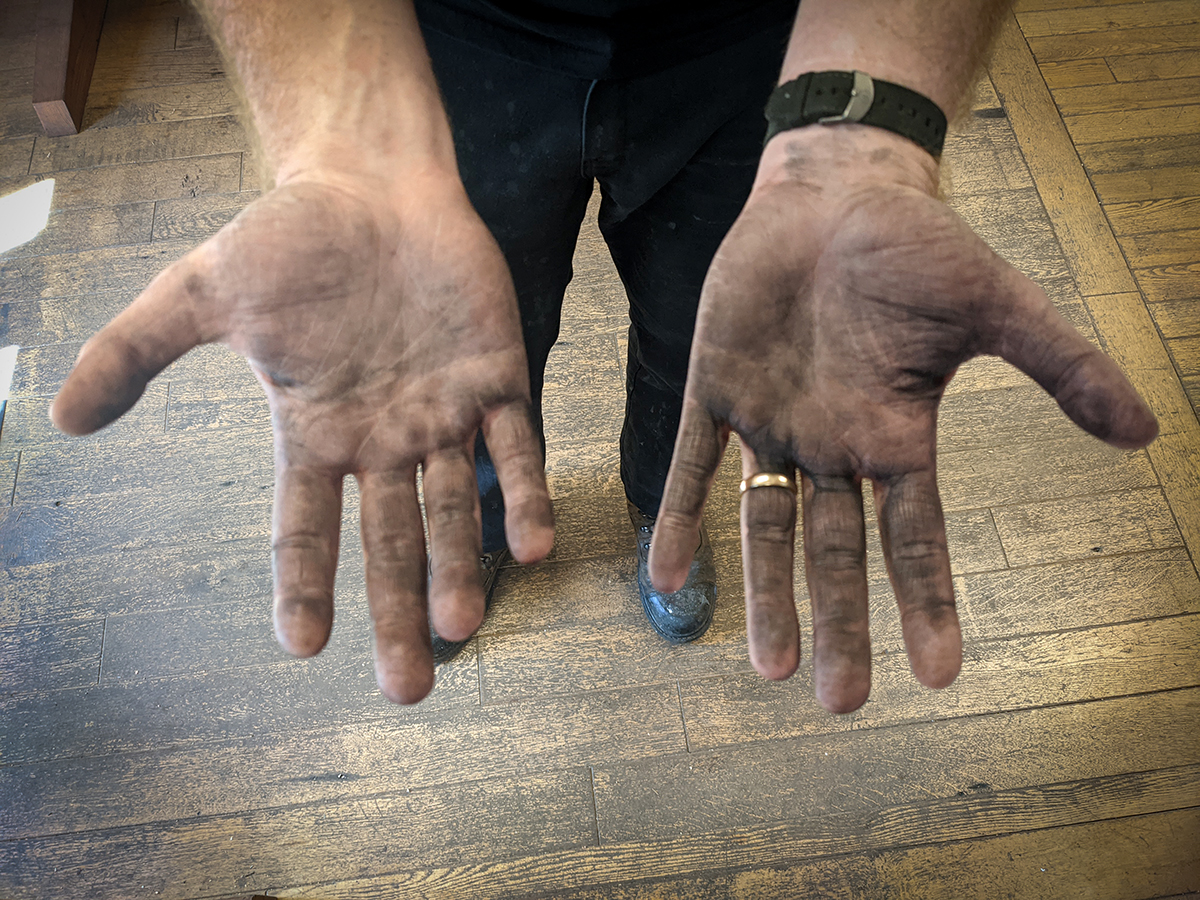
It’s sooty: Known for its iconic black siding look, Shou Sugi Ban gets that way from wood being charred with fire. While the majority of our products are pre-finished, sealing in the char on the face, the sides and backs of the boards are still burned and can transfer soot. We haven’t met many builders afraid to get their hands dirty, but this can still come as a surprise to some folks. Pro Tip: Wear clothes you’re not married to (or would get married in for that matter) and take your time. Any mistakes can be cleaned with soap and water.
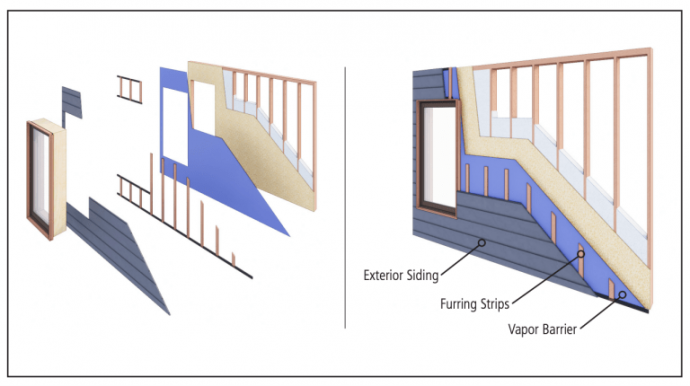
Rainscreen & Strapping: It’s a good idea to incorporate siding of any kindas part of a ventilated rainscreen system. A rainscreen is composed of sheathing, exterior insulation, vapor barrier, strapping, drainage plane, air gap, and cladding (in this case charred wood siding). Put simply, water will always find a way into and behind exterior siding, so creating an air gap and drainage plane will allow moisture to drain and evaporate quickly and completely, which promotes drying and helps prevent rot and movement. Horizontal and vertical siding installations both benefit from this method.
Timelapse courtesy of North River Builders (visit them here). Installation of Pioneer Millworks Shou Sugi Ban Charred Siding.
We recommend using solid-sawn wood strapping (also called “battens” or “furring”) to create passive ventilation behind the siding. Screens at the top and bottom are necessary to permit airflow while preventing pests from entering the gap between the vapor barrier and the siding. Strapping should be at least 3/8” thick and securely fastened to the sheathing or other substrate with screws every 16” on center.
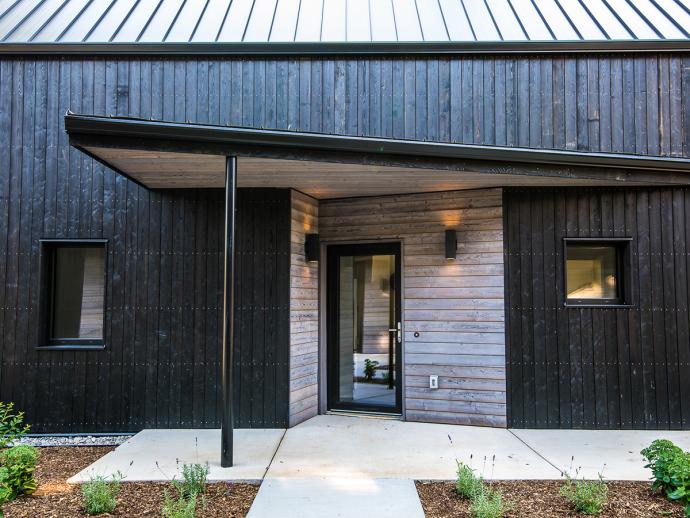
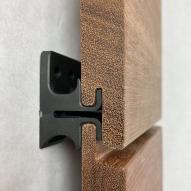
Nails: Siding boards should be attached to the rainscreen strapping with exterior grade, headed ring-shank siding nails with a ~40° diamond tip, hand nailed or fired from a pneumatic fastener. At least two nails per runner should be driven through the face of each board approximately 1" from each edge to minimize cupping. Although many designs from the past 50 years have eschewed face-nailing in favor of blind nailing—or more recently clip systems - we recommend face nailing for ease of maintenance and to minimize damage to the siding. Wood will move, and nails usually move with the wood, whereas screws tend to hold fast and could end up damaging the board over time. Aside from the maintenance and durability benefits, a perfectly straight nail pattern really showcases the skill of your installer, and the contrast of silver nails on black siding is particularly striking. Some nail manufacturers also offer coated nails to minimize the appearance of fasteners and match your project.
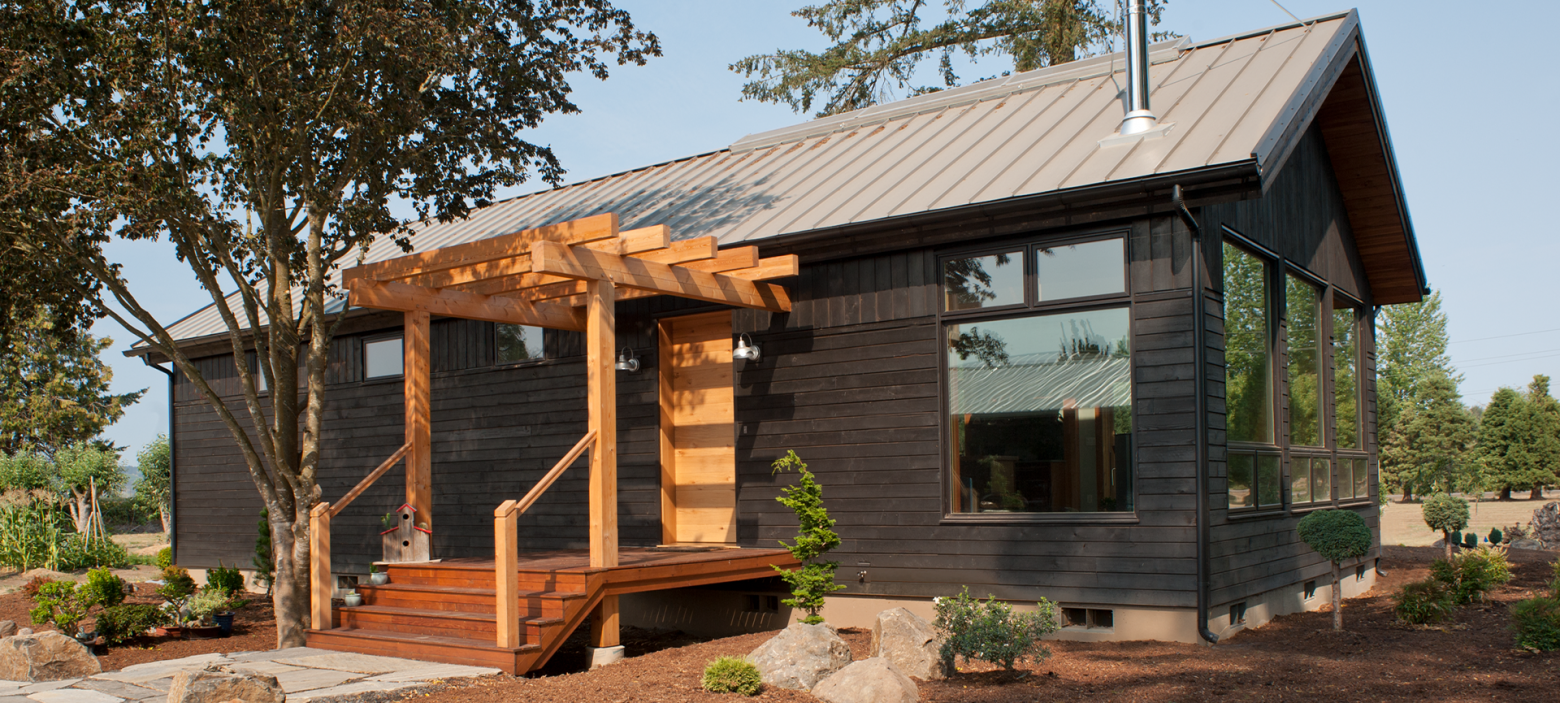
Wood siding installation is best done by a professional. But if you’ve got the skills for this to be a DIY project following these tips, your local code requirements/recommendations, and use of your construction knowledge will help your siding last for years to come.


